Blender Animation Basics
 |
| Finished animation |
What is animation in blender?
Animation is making an object move or change shape over time. You would use animation in blender for very obvious reasons such as making a character walk, run, crouch. making an object move around in your scene. Animating a scene so it becomes entertaining...etc. Objects can be animated in many ways.Moving as a whole object
Changing their position, orientation or size in time.
Deforming them
Animating their vertices or control points.
Character Animation via Armature
Animated to deform by the movement of bones inside the mesh if you use a human model, a very complex and flexible interaction that makes character-shaped objects appear to walk and jump.
In this chapter we will cover the first two, but the basics given here are actually vital for understanding the following chapters as well. Three methods are normally used in animation software to make a 3D object move:
In this chapter we will cover the first two, but the basics given here are actually vital for understanding the following chapters as well. Three methods are normally used in animation software to make a 3D object move:
Key frames
Complete positions are saved for units of time (frames). An animation is created by interpolating an object fluidly through the frames. The advantage of this method is that it allows you to work with clearly visualized units. The animator can work from one position to the next and can change previously created positions, or move them in time.
Animation Curves
Curves are interpolated from keyframes, and can be drawn for each XYZ component for location, rotation, and size, as well as any other attribute in Blender. These form the graphs for the movement, with time set out horizontally and the value set out vertically. The advantage of this method is that it gives you precise control over the results of the movement.
Path
A curve is drawn in 3D space, and the Object is constrained to follow it according to a given time function of the position along the path.
The first two systems in Blender are completely integrated in a single one, the F-Curve system.
The first two systems in Blender are completely integrated in a single one, the F-Curve system.
In Blender 2.5x, everything can now be animated. Previously, only certain datablock had the ability to be keyframed. Now users have the ability to animate nearly any type of data that can be changed to multiple values.
How to animate in blender
Go to scene editor and select animation. This is located at the top of the screen.
 |
| layout of animation |
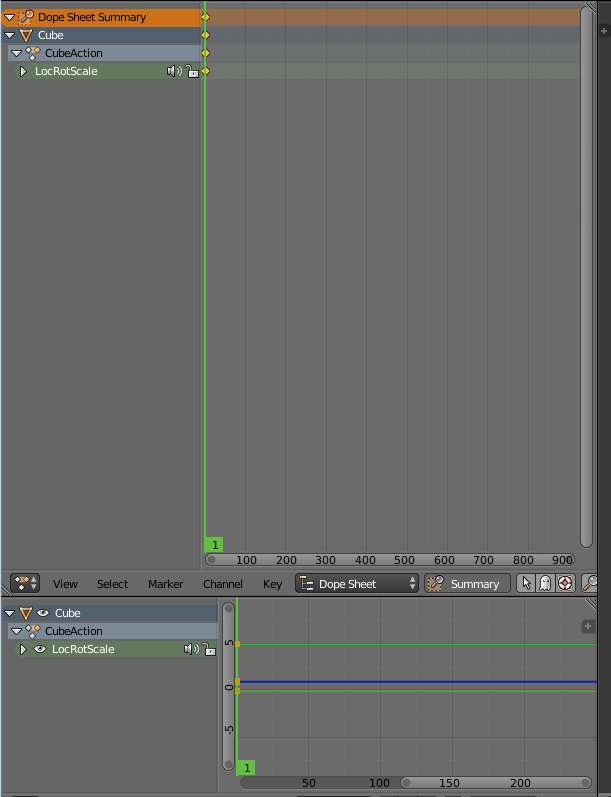
2. Find any free space and press "I" then select LocRotScale and this should open up a tab that looks like this. We use this as it allows us to move the object more easily.
 |
| LocRotScale |
3. Next go to your timeline and select frame 10
 |
| timeline ten frames |
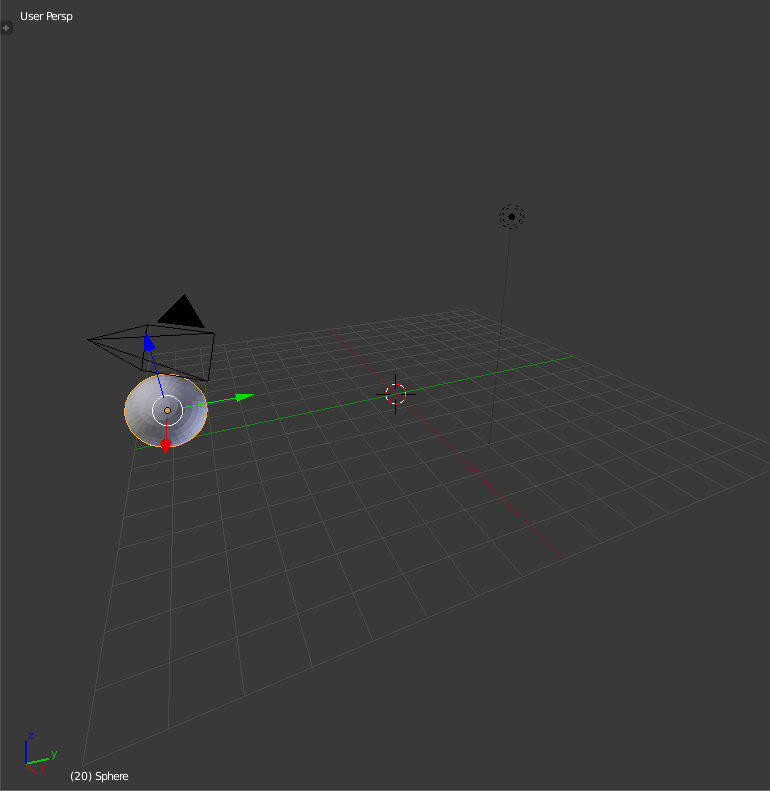
Then move your object along the axis by pressing G + Y then move it to your desired location
 |
| moving object frame 10 |
Then press I and this will complete your keyframe
4. Now select frame 20 and move your object further down the axis rotate it as well by pressing "R" and moving it
 |
| moving object 20 frames |
 |
| timeline 20 |
5. Continue these steps until you have at least 100 frames then move the amount of frames down to 100
6. Next you go to the render tab and select render animation
7. Next press Ctrl +F11 and that will play your animation. That is your animation completed.
Sample Animation
Blender Animation Basics
 Reviewed by Opus Web Design
on
06:20
Rating:
 Reviewed by Opus Web Design
on
06:20
Rating:


